Before and After Photo Maker

Combine two photos into one comparison image, side by side, slider, overlay, split or stacked, without leaving your browser. No app to install and no account to create.

Your photos are processed in this tab. Nothing is uploaded, and no account is needed.

How to make a before and after photo in 3 steps

Three short steps, and nothing to install: pick two photos, choose a layout, then save the finished comparison.

1

Choose your two photos

Pick the two shots you want to compare from your own device, usually the same spot or the same pose taken on different dates. Both files are read in this tab and stay there. When the two photos were taken from a similar angle and distance, the finished comparison is much easier to read.

2

Pick a layout

Choose side by side, slider, overlay, split or stack, then decide whether the image needs Before and After labels and a coloured divider. Switching layout costs nothing, so you can try one arrangement, look at it, and try a second before you settle on the version you want to keep or send.

3

Download the image

Save the finished comparison as one image file, ready for a social post, a progress report, a listing page or a message to a client. Keep the tab open until the file has saved, then close it whenever you like; nothing stays behind on a server once the tab is gone.

Layouts, file output and quality

Five layouts, optional labels, a divider you can colour, and an image, a GIF or a video at the end of it.

Five layouts

Pick the arrangement that reads best for the pair you have. Switching costs nothing, so it is easy to try one and switch again.

Side by Side

Two equal halves next to each other, the easiest shape for posts and reports.

Interactive Slider

One photo hides behind the other; the handle decides how much of each shows.

Split View

A diagonal seam divides the old from the new inside one frame.

Vertical Stack

One photo above the other, made for phones and stories.

Overlay

The before photo sits on top at low opacity, so misalignment is obvious.

Labels and dividers

Before and After labels are there for the cases where the two halves could be confused, and they can stay switched off when the image should look cleaner. The divider between the halves can be recoloured, so a pale photo can sit next to a dark one without the seam disappearing into the background. Both choices are optional, and neither one changes the photos themselves.

Output quality

The comparison is saved as an image file. Photos are never stretched: the frame is filled edge to edge, so a photo that does not match the frame is cropped rather than squashed, and you can slide it to choose what stays in view. High resolution photos keep their own proportions throughout the join and the export. Because the work happens inside your browser, the file is written on your own machine and never generated on a server.

Why use this before and after photo maker

Your photos stay on your device, and a finished comparison takes seconds instead of a detour through editing software.

Private by design

Both photos are read and processed inside this browser tab. Nothing is uploaded, so there is no copy sitting on a server and nothing to delete later. Files that never leave your device cannot leak from it, which matters when the photos show a home, a client or a person who did not ask to be published.

Five layouts

Side by side for posts and reports, slider for a hands-on look, overlay for checking alignment, split for a diagonal seam and stack for tall screens. Pick whichever reads best for the pair you have, and switch again if the first one does not work.

Mobile ready

The layout adapts to phone, tablet and desktop browsers, so a comparison can be put together on the device the photo was taken on. The same page, the same five layouts and the same options are there, without a reduced mobile version that hides half the features.

Clean export with the upgrade

Free exports carry one small mark in the corner. The upgraded version stamps nothing at all, so the file can go straight to a client or a listing without a second pass. Either way the photos keep their own proportions and the labels stay exactly as you set them.

Common before and after use cases

Six situations where one comparison image says more than two separate photos.

Gym weights photographed before and after a training block

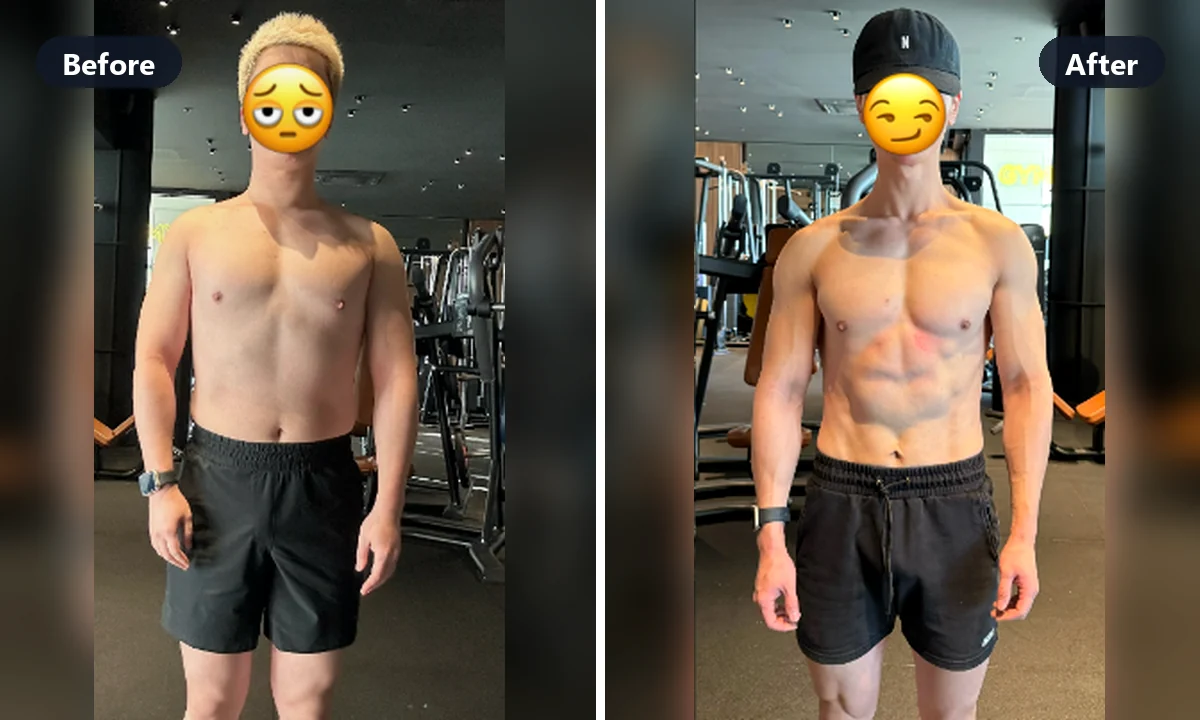
Fitness progress

Put a first week next to a twelfth week, or one training block next to the next, using photos taken in the same place and light. The image records what changed; it does not predict what will. Illustration only, not a claim about individual results.

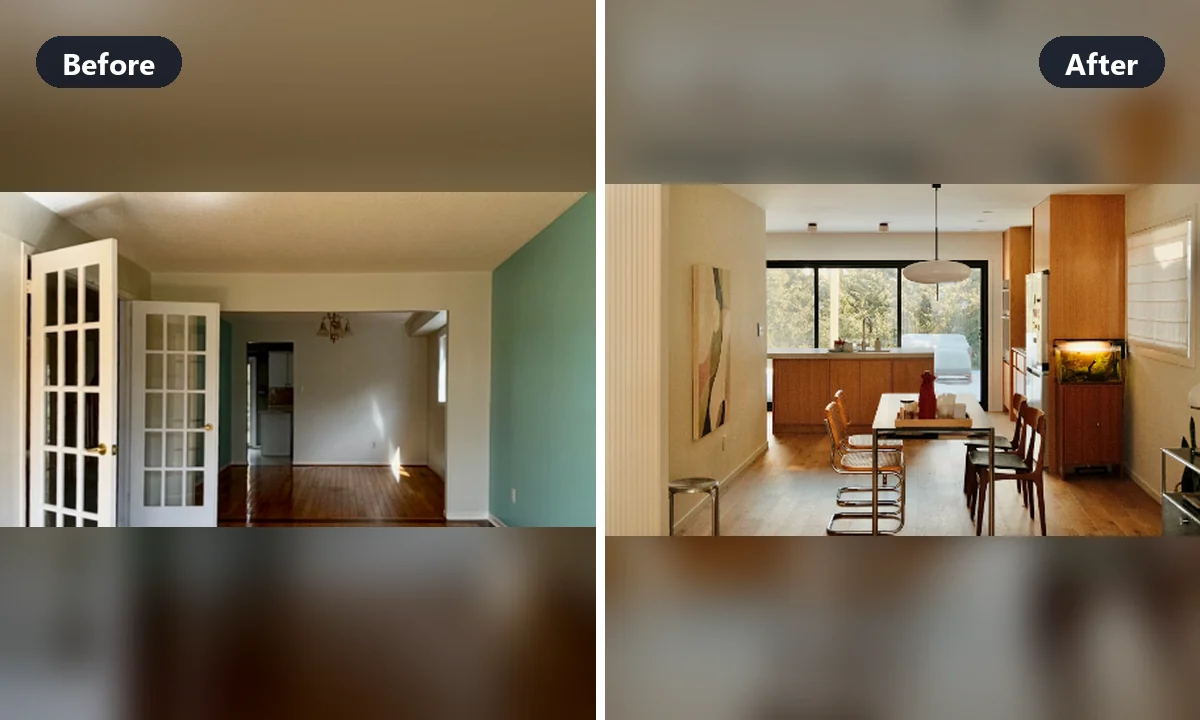
Kitchen photographed before and after a renovation

Home renovation

A shot of the kitchen as it was and a shot from the same corner once the work is done make one frame that a client, a landlord or a partner understands at a glance. Illustration only, so a single project is not evidence of individual results.

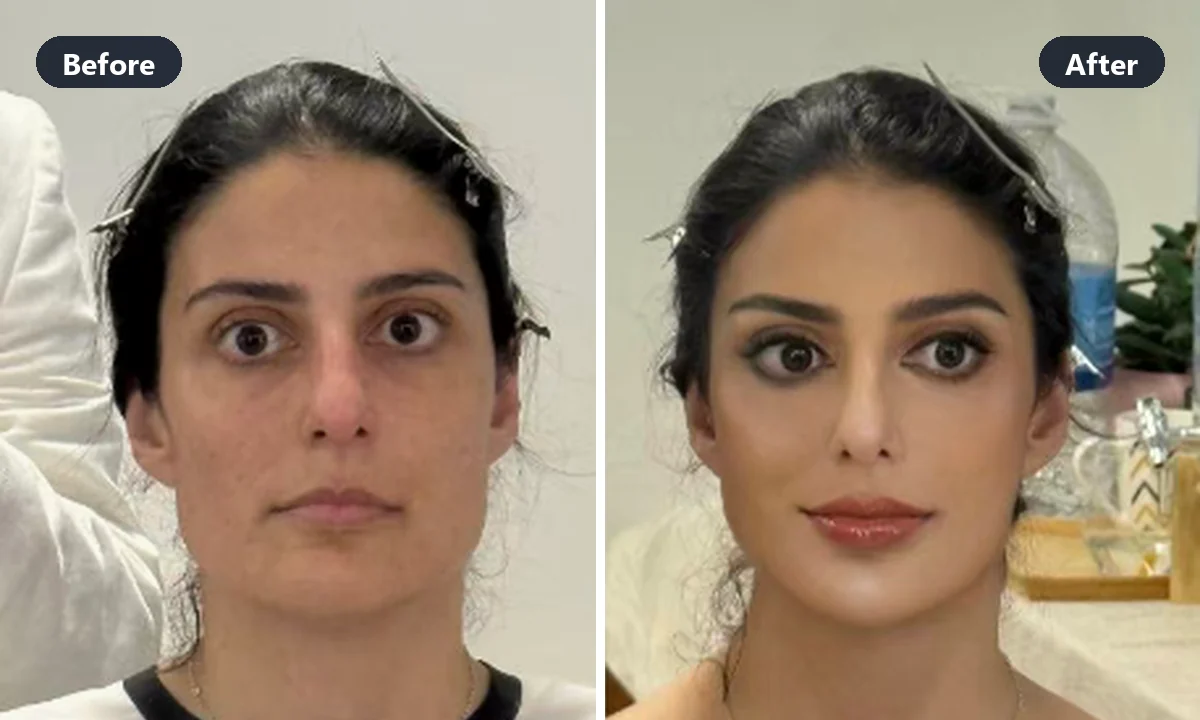
Portrait photographed before and after a makeup application

Hair, makeup and skincare

Keep a visual archive of a haircut, a colour change or a makeup trial, taken in the same light and the same pose. It is a record of one appointment, not a sign of what anyone else should expect. Illustration only.

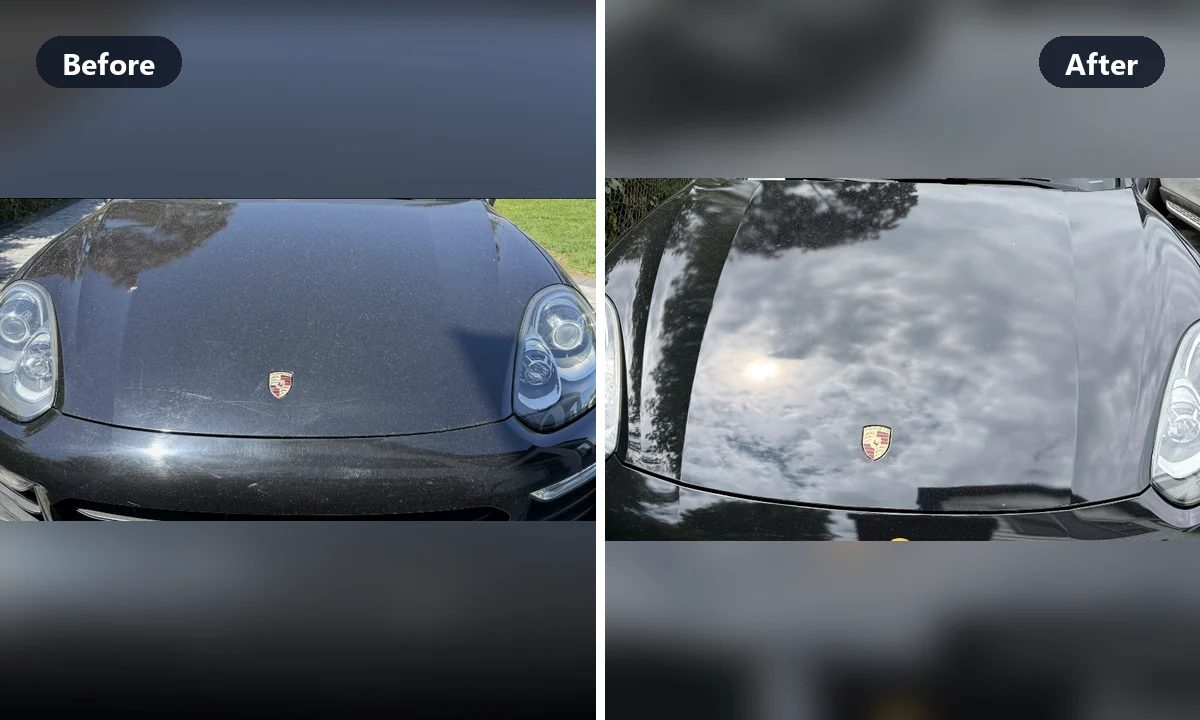
Car photographed before and after a full detail

Vehicle detailing

Wheels, paint and interiors that were cleaned, polished or repaired sit next to the starting condition in one image that is easy to send to a customer or keep with a job sheet. Illustration only, not a promise about other vehicles.

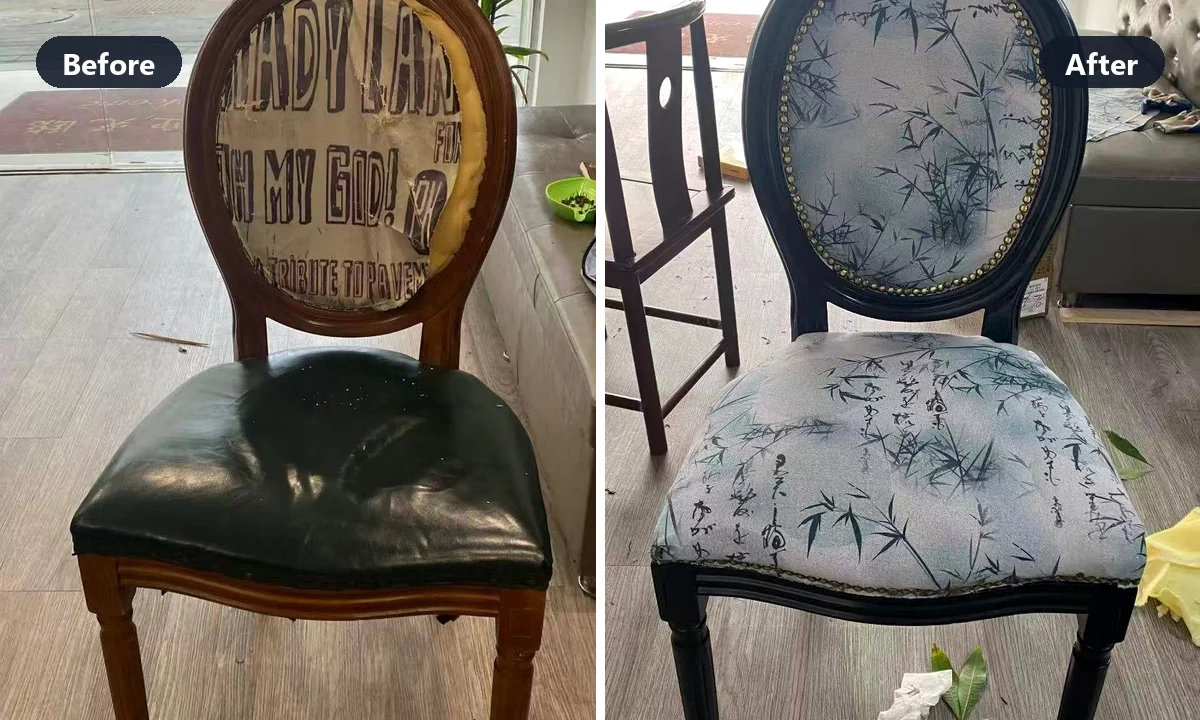
Dining chair photographed with torn upholstery and after being re-covered

Product cleaning and restoration

A worn chair, a scuffed tool or a faded sign photographed before and after cleaning or repair, ready for a shop listing or a repair log. Illustration only, so one restored item is not a claim about the next one.

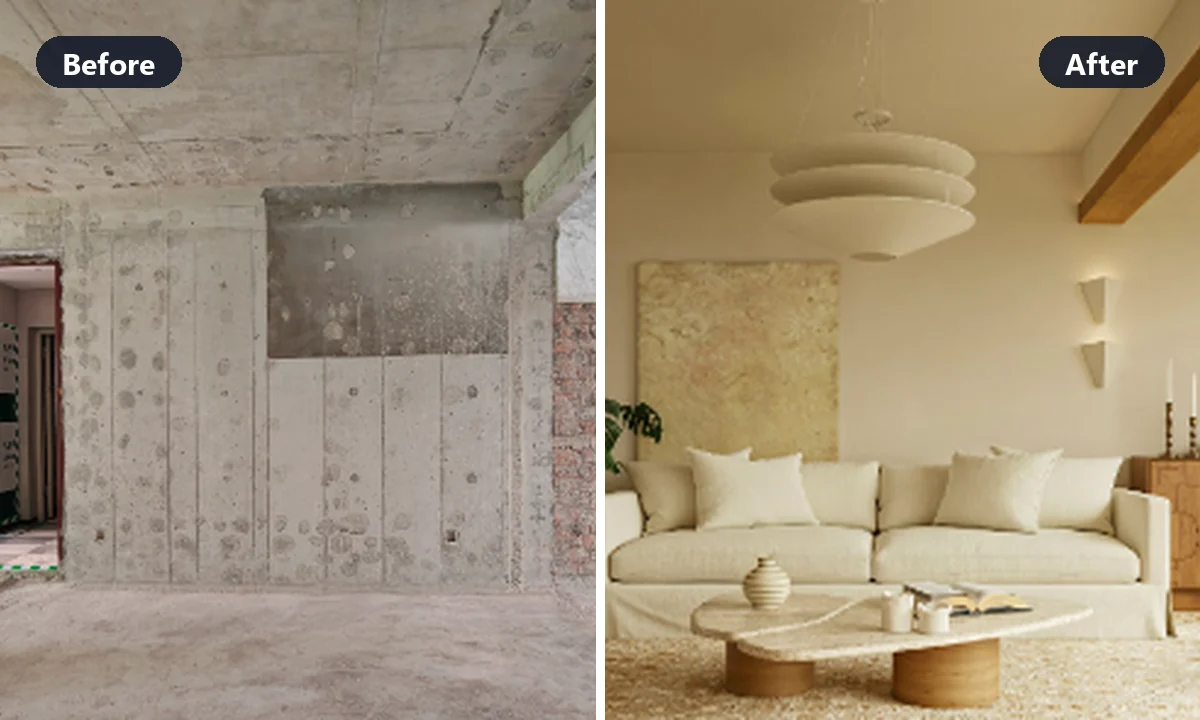
Apartment room photographed as a concrete shell and after the fit-out

Real estate listings

Show a room as it was and as it is, or a garden across a season of work, without sending the photos to a listing service first. Useful for landlord updates and handover notes too. Illustration only, not a promise for any other property.

Before and After Photo Maker FAQ

Answers to the questions people ask before they put two photos side by side.

Is this before and after photo maker free?

Yes. Every layout, every template, the slider preview and the GIF and video export are free to use. The first clean PNG export each day carries no corner mark; further PNG exports that day carry a small corner mark, and there is a daily limit. Pro removes the mark and lifts the limit, and nothing else about the tool changes.

Are my photos uploaded to a server?

No. Both photos are read and combined inside your browser tab, and nothing is sent to a server or stored anywhere. Close the tab and there is no copy left to delete.

Which layouts can I choose?

Five of them: side by side, slider, overlay, split and stack. Side by side keeps both photos fully visible in equal halves, slider hides one photo behind the other, overlay sets one photo over the other at a lower opacity, split divides the frame diagonally, and stack places one photo above the other for tall screens.

Does it work on a phone?

Yes. The page runs in phone, tablet and desktop browsers, and the layout adjusts to the screen you are on. A comparison can be built on the same device the photo was taken with, using the same four layouts.

Can I leave out the labels or the divider?

Yes. The Before and After labels and the divider line are both optional. With them turned off you get a plain two-photo layout, which is often the cleanest choice for a header image or a listing photo.

Do my photos get cropped or stretched?

Neither photo is ever stretched: the frame is filled edge to edge, so a photo whose shape differs from the frame is cropped rather than squashed, and you can slide it left or right to choose what stays in view. High resolution photos keep their own proportions through the join and the export.

What file do I get when I export?

The still export is a PNG image of the finished comparison. In the slider layout you can also save an animated GIF or a short video that keeps the reveal moving instead of freezing on one frame. Every file keeps the proportions of your original photos.

Can I export a video or a GIF?

Yes, in the slider layout. Next to the still PNG, the export offers an animated GIF and a short video of two, three or five seconds, so the reveal keeps moving. Video support depends on the browser; when it is unavailable, the GIF works everywhere.

Do I need to sign up or log in?

No. There is no account, no email address and no password, and nothing about you is remembered apart from the light or dark theme you prefer. Open the page and start.

Is there a corner mark, and can I use the image commercially?

The first clean PNG export each day has no corner mark. Further PNG exports that day carry a small corner mark, and there is a daily limit; the comparison itself stays readable. The upgraded version removes the mark, lifts the daily limit and exports a clean file every time. If the comparison is used commercially, make sure you hold the rights to both photos and that anyone recognisable in them has agreed to that use, because the tool cannot confirm that for you.

Ready to put two photos side by side?

Open the photo maker